
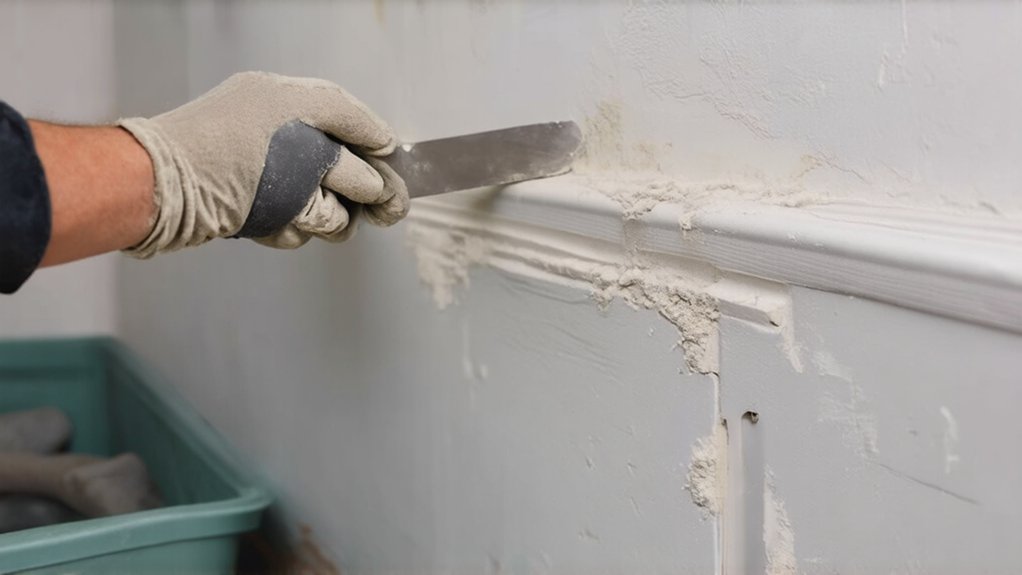

Before you open a paint can, you need to treat every crack, dent, and seam as a potential failure point in your finish. If you skip proper inspection, cleaning, and repair, even premium paint will highlight flaws instead of hiding them. The key is knowing how to identify different defects, match them with the right repair products, and prep them correctly—because each type of imperfection demands a specific approach if you want results that actually last.
Key Takeaways
- Thoroughly inspect walls under raking light, marking all cracks, nail pops, and imperfections so none are missed before repair.
- Clean surfaces of dust, grease, and loose material, then sand smooth to ensure strong adhesion and prevent defects from telegraphing through paint.
- Choose appropriate fillers: lightweight spackle for small dents, setting-type compound for deeper cracks, and flexible caulk for moving gaps and joints.
- Apply repair materials in thin, feathered layers, allow full drying, then sand progressively finer to achieve a flat, invisible surface.
- Spot-prime all repaired areas with suitable primers to seal porosity, block stains, and ensure uniform sheen and color in the finish coat.
Spotting Wall Cracks and Imperfections Before You Paint
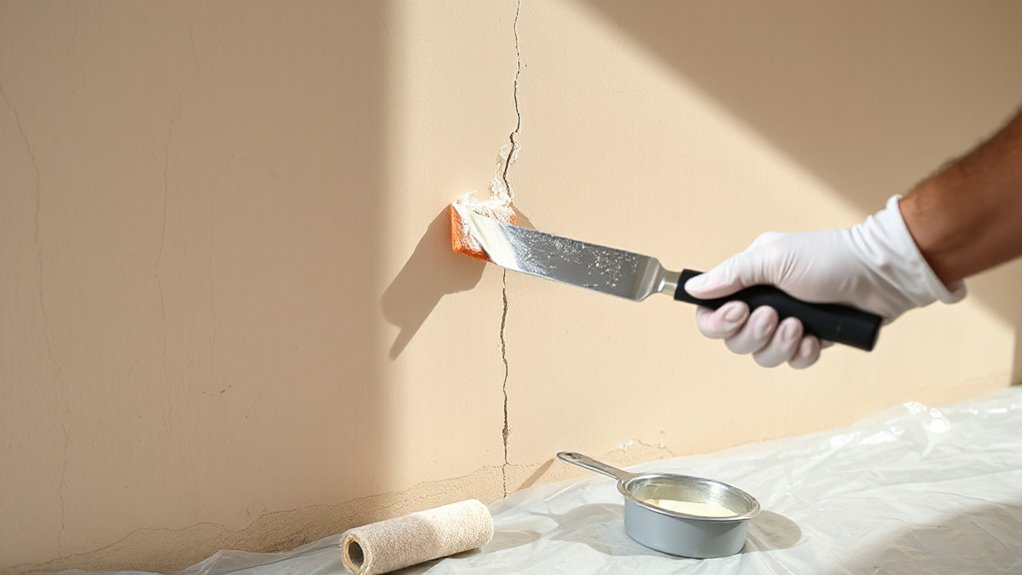
Before you open a paint can or unroll a drop cloth, you need to systematically identify every crack, dent, and surface defect that will telegraph through your new finish. Start by viewing walls under raking light—use a bright work light held close to the surface to expose ridges, depressions, and hairline fractures.
Run your hand over suspect areas; you’ll feel irregularities faster than you’ll see them. Note stress cracks at door and window corners, settlement cracks at ceiling joints, nail pops, tape seams, and prior patch edges. Mark each defect with a pencil circle so nothing gets missed during repairs.
Accurate detection protects your color matching and paint selection efforts, ensuring the final film lays flat, uniform, and visually consistent.
Choosing the Right Fillers, Compounds, and Repair Tools
Once you’ve mapped every flaw, you need repair materials and tools matched to each defect, substrate, and paint system. When choosing fillers, compounds, and repair tools, start with substrate: use lightweight vinyl or acrylic spackle for small drywall dents, setting-type joint compound for deeper cracks, and two-part epoxy or polyester filler for structural or impact damage.
On plaster, favor hard-setting compounds; on masonry, use cementitious or elastomeric fillers that tolerate movement.
Select flexible acrylic or elastomeric caulk for dynamic joints. Pair each material with the right tools: taping knives in graduated widths, a stiff putty knife, jointing trowel, corner knife, and a carbide scraper.
When selecting appropriate repair kits, verify compatibility with interior/exterior use, paint type, and recommended film build.
Preparing Walls for Repair: Cleaning, Sanding, and Safety
Before you repair any cracks, you need to prepare the wall properly with methodical cleaning, controlled sanding, and strict attention to safety.
You’ll remove dust, grease, and loose material, then sand to create a stable, keyed surface that guarantees the best adhesion for fillers and primers.
At the same time, you’ll use appropriate PPE and ventilation to control dust, fumes, and exposure to potentially hazardous substrates.
Essential Cleaning Steps
Although it’s tempting to jump straight to filling cracks, effective repairs start with a clean, properly prepared surface. Begin by removing loose dust and debris with a vacuum and soft brush attachment, concentrating on corners, baseboards, and around defects.
Next, wash the wall with a mild detergent or trisodium phosphate (TSP) solution to cut grease, smoke residue, and hand oils that interfere with paint adhesion.
Rinse thoroughly with clean water to prevent cleaner residue from compromising joint compound bond.
Address surface moisture: identify leaks, condensation, or damp patches and correct the source before proceeding.
Let the wall dry completely; use fans or a dehumidifier if needed.
Finally, spot-clean remaining stains—such as marker or crayon—with an appropriate solvent, then wipe clean.
Proper Sanding Techniques
Even with a spotless surface, walls won’t accept repairs or paint properly unless you sand them to the correct profile. Start with 80–120 grit to level ridges, joint compound edges, and feather out crack repairs. Keep the block or pole sander flat to avoid gouging.
Shift to 150–220 grit to refine the surface and promote paint compatibility, especially with primers and low-sheen topcoats.
Blend patched zones into surrounding areas for reliable texture matching. Sand beyond the repair perimeter in overlapping passes so the transition disappears under raking light. Use light, consistent pressure and check frequently with your hand and a work light.
Finally, vacuum and tack-wipe the surface so sanding dust doesn’t interfere with adhesion or telegraph through the finish.
Safety Gear and Ventilation
While patching and sanding walls might feel low-risk, you’re generating fine dust, chemical fumes, and impact hazards that demand proper protection and airflow. You need safety gear that matches the task: ANSI-rated safety glasses, a NIOSH-approved respirator (P100 for dust; organic vapor cartridges for solvents), and cut-resistant gloves.
Add hearing protection if you’re using power sanders or vacuums.
Use local exhaust and balanced ventilation systems whenever possible. A box fan in a window is better than nothing, but a HEPA-equipped dust extractor directly connected to your sander is far more effective.
Always maintain cross-ventilation and avoid recirculating contaminated air.
- Protect your lungs now to avoid chronic respiratory disease later.
- Shield your eyes; vision damage is instantaneous.
- Guard your hearing; ringing rarely fades.
Fixing Hairline Cracks and Light Surface Blemishes
Because hairline cracks and light surface blemishes telegraph through fresh paint, you need to stabilize and smooth them before you even open a can. Start with crack identification: use bright, angled light to reveal faint lines, pinholes, and subtle depressions. Run your fingertips over the wall to feel irregularities in surface texture that your eyes miss.
Clean the area with a damp cloth and let it dry. Lightly sand with 120–150 grit to open the crack edges and degloss the surrounding paint. Dust off thoroughly.
For minor defects, apply a high-quality lightweight spackle or patching compound with a flexible putty knife, pressing it firmly into the crack. Feather edges tight. Once dry, sand smooth, spot-prime, then reassess under raking light.
Repairing Deep Cracks, Holes, and Damaged Drywall
Hairline flaws are one thing; structural defects in the surface are another. When you’re repairing deep cracks, holes, and damaged drywall, treat the area as a small reconstruction project. Cut back loose paper and crumbling gypsum to sound material, then undercut cracks slightly so joint compound can lock in.
For large voids, screw in a backing piece or install a drywall patch, keeping it flush.
Use setting-type joint compound in successive layers, allowing each to harden fully before sanding. Maintain plane and feather edges wide so patches disappear under raking light.
Prioritize texture matching—use a sponge, brush, or spray texture to replicate the field surface. Confirm paint compatibility with primers and compounds you’ve used.
- Restore pride in your walls
- Remove constant visual distractions
- Achieve a finish you’re eager to show
Dealing With Tricky Areas: Corners, Ceilings, and Trim

Even a well-prepped wall can look amateurish if corners, ceilings, and trim aren’t handled with precision. Start by inspecting inside and outside corners with a bright work light; hairline cracks often run vertically. Open these slightly with a utility knife so filler bonds well.
Where ceiling and wall meet, cut away loose tape, then re-tape with paper or fiberglass mesh and compound.
For trim, run a flexible putty knife along gaps to identify hollow areas, then fill with paintable caulk, not spackle, so joints move without cracking. Undercut excess caulk immediately for a crisp line.
Address flaws around decorating accents and fixtures before final placement to avoid shadow lines. Plan repairs around furniture integration so large pieces don’t highlight missed defects.
Sanding, Smoothing, and Blending Repairs Into Old Paint
Once repairs are dry, you turn them from obvious patches into invisible fixes by sanding, feathering, and leveling them precisely with the surrounding paint film. Start with 120–150 grit to knock down ridges, then move to 180–220 grit to refine.
Always sand beyond the patch edge, feathering at least 8–12 inches into the existing finish so transitions disappear under later coats.
Use a sanding block or pole sander to keep surfaces flat; avoid finger grooves that telegraph through topcoats. After vacuuming dust, run your hand across the area with your eyes closed—you’ll catch defects faster than by sight.
- Feel the wall transform from rough to flawless.
- See past repairs vanish into uniform surfaces.
- Gain confidence in your color matching and paint selection.
Priming Repaired Areas for a Flawless Paint Finish
Why does a flawless paint job so often fail without proper primer on your repairs? Fresh compound and patched substrates are porous and chemically different from surrounding paint, so you must standardize the surface before topcoating.
Use targeted priming techniques: first, dust off all sanding residue; then spot-prime every repair rather than coating the whole wall unnecessarily.
Choose primer based on substrate and topcoat: use stain-blocking primer over water stains, bonding primer on glossy or previously slick surfaces, and drywall primer on new joint compound.
Apply thin, even coats, feathering slightly beyond the repair to avoid “flashing.” Let primer fully cure per manufacturer specs; this stabilizes porosity, improves paint adhesion, and prevents visible patches telegraphing through your finish coats.
Common Repair Mistakes to Avoid Before Painting
Before you pick up a brush, you need to avoid a few repair errors that will telegraph through even the best paint. Skipping proper surface prep, misusing fillers and caulk, or ignoring drying and sanding times will cause cracking, flashing, and visible patch lines.
Here’s how to approach each step correctly so your repairs remain stable and invisible under the finish coat.
Skipping Proper Surface Prep
Although it feels like you’re saving time, skipping proper surface prep is the fastest way to ruin a paint job and waste materials. Every coating system is designed to bond to a clean, stable, uniform surface texture. When you don’t degloss, sand, or clean thoroughly, you compromise paint adhesion, leading to peeling, blistering, and visible patch lines.
You should methodically remove dust, grease, chalk, and loose material, then sand connections smooth so repaired areas visually disappear under finish coats. Proper prep also reveals hidden defects that would telegraph through fresh paint.
- You roll on paint, watch it dry, and see every flaw highlighted.
- You notice fresh peeling within months, not years.
- You realize you’ve doubled your workload by rushing prep.
Misusing Fillers And Caulk
Even when you prep meticulously, misusing fillers and caulk can telegraph every patch line and joint through your finish coats. You can’t treat all gaps the same. Use a setting-type compound or high‑quality filler for structural cracks and dents, and a paintable acrylic‑latex caulk only for small, stable gaps at trim, casings, and junctions.
Don’t bridge wide gaps with caulk; it’ll slump, crack, and shadow through, especially under low-sheen or decorative finishes. Match product flexibility to the substrate: rigid fillers for plaster and drywall surfaces, flexible caulk only where movement is expected.
White, overbuilt repairs also distort paint color selection, creating visible bands or sheen changes. Apply materials sparingly, strike them smooth, and confine caulk to true joints—not field surfaces.
Ignoring Drying And Sanding
Once cured, disciplined sanding techniques determine whether the repair disappears or stands out. Start with a medium grit, feather the edges into surrounding surfaces, then finish with a finer grit to eliminate scratches. Use a sanding block or pole sander to keep surfaces flat and avoid gouging.
- You’ll either hide flaws or stare at them every day.
- You control the finish, or defects control the room.
- You invest once, or repaint far sooner than planned.
Frequently Asked Questions
How Long Should I Wait Between Repairing and Painting the Walls?
You typically wait 24 hours before painting, but you must follow the product’s specified drying time. Confirm the repair feels hard, sandable, and dust-free; thorough surface preparation guarantees proper adhesion, uniform sheen, and long-term coating performance.
Can I Repair Cracks in Very Humid or Cold Weather Conditions?
You can, but you’ll face humidity challenges and strict temperature considerations. Work above 50°F (10°C), keep surfaces dry, use fast-setting or cold‑weather fillers, extend drying times, and always follow the manufacturer’s environmental specifications.
Are There Eco-Friendly or Low-Voc Repair Products I Can Use?
You can use eco friendly paints, Low VOC primers, and plant-based or mineral fillers. Verify GreenGuard or EU Ecolabel certifications, avoid solvents, and follow manufacturer drying times; you’ll still need adequate ventilation for safe, proper curing.
How Do I Know if a Crack Indicates a Structural Problem?
You know it’s structural when cracks form stepped patterns, exceed 1/8″, keep widening, or misalign doors and windows—those Structural signs mean Wall stability’s compromised. Horizontal or diagonal foundation-level cracks? Stop patching; call a structural engineer immediately.
What Repairs Should I Leave to a Professional Instead of DIY?
You should hire pros for wide stair-step cracks, sagging headers, moisture-stained ceilings, bowing walls, or crumbling masonry. They’ll manage DIY safety, select proper structural tools, specify materials, and verify load paths, preventing concealed damage and costly failures.
Conclusion
When you slow down and fix cracks and imperfections first, your paint doesn’t just look better—it lasts longer. Think of a rental unit with yearly peeling and nail pops; once the owner switched to cutting out failed tape, using setting‑type compound, and spot‑priming repairs, repaint cycles stretched to 5–7 years. Apply the same discipline: inspect, repair with the right products, sand, and prime. You’ll get a crisp, even finish that actually holds up.