
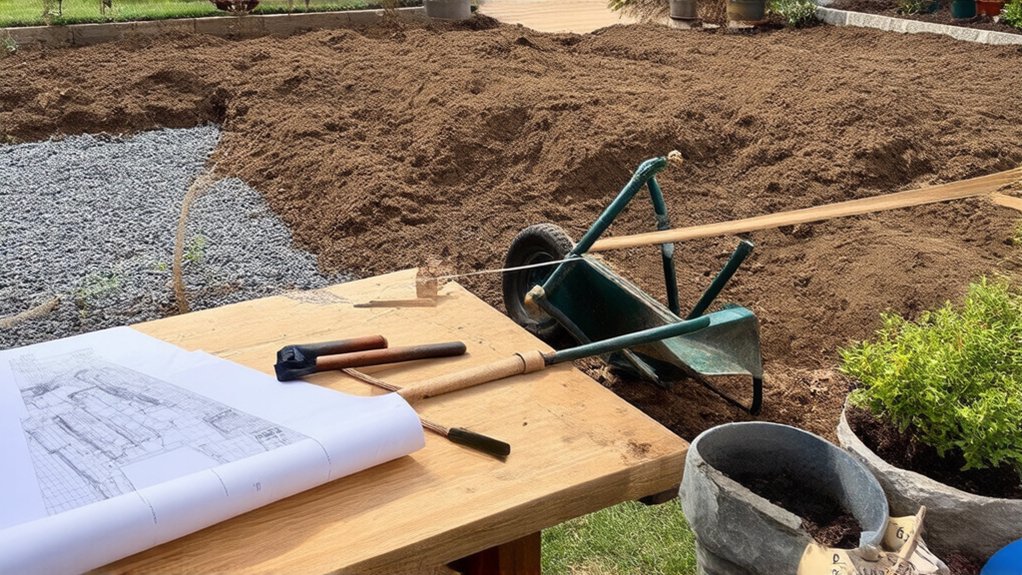

Key Takeaways
- Define your garden’s purpose, style, and priorities, considering budget, time, and how you’ll use the space.
- Assess site conditions: sun patterns, wind, drainage, microclimates, and soil texture, nutrients, compaction, and organic matter.
- Measure and map the yard to scale, marking existing features, utilities, setbacks, and planned zones for paths, beds, seating, and storage.
- Design structure first with paths, edging, and hardscape, keeping materials cohesive and surfaces limited to two repeating textures.
- Select plants matched to climate, light, and water needs, layering for year-round interest with structural evergreens, staggered bloom times, and focal points.
Decide What You Want From Your Garden
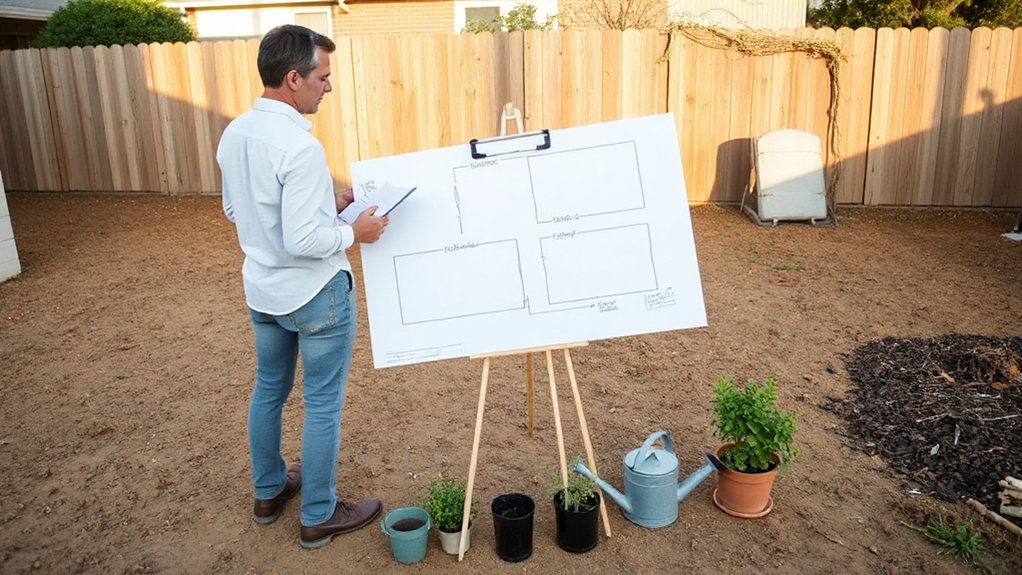
Before you sketch beds or buy a single plant, decide exactly what you need your garden to do for you. Define your primary goals: outdoor dining, play space, privacy screening, pollinator habitat, cut flowers, herbs, or low-maintenance structure. Rank them, then set firm constraints for budget, weekly care time, and desired longevity.
Choose a clear style direction to guide garden aesthetics: formal, cottage, modern, or naturalistic, and note the materials and colors you’ll repeat for cohesion. Identify must-have features such as paths, seating, water access, storage, or composting.
Finally, select an emotional theme using plant symbolism—roses for romance, lavender for calm, oak for resilience—so every planting decision supports function and meaning. Write it down and keep it visible.
Check Your Yard’s Sun, Wind, and Microclimates
Although plant tags list “full sun” or “part shade,” your yard creates its own shifting map of light, wind, and temperature that can make or break a design. Track Sun exposure over a normal day: morning, midday, and late afternoon in each season you’ll garden. Notice shade from buildings, fences, and trees, plus reflective heat from pavement or walls.
Check wind patterns next. Stand outside on breezy days and find funnels between structures, still pockets behind hedges, and exposed corners that dry soil fast. Note where snow lingers or frost hits first; these Microclimate effects reveal cold sinks and warm refuges.
Also watch drainage after rain—low spots stay wet, slopes shed water. Use what you learn to match plants to conditions, not hopes.
Measure the Space and Sketch a Garden Design Map
Once you’ve mapped your yard’s conditions, measure the space so your ideas fit what you actually have. Use a long tape, measure edges, setbacks, and existing features like trees, patios, utilities, and slopes. Mark door swings, hose bibs, and paths you already use. Record everything in feet on graph paper or a scale drawing app.
Sketch a base map, then overlay bubbles for beds, seating, compost, and storage. Keep bed widths reachable (3–4 feet) and paths comfortable (3–5 feet). Place focal points for Garden art where sightlines land from windows or entries.
Note gateways, fences, and tight corners where Pest control access matters—leave room for inspection, traps, or netting. Label plant zones, circulation, and maintenance routes clearly.
Test Soil, pH, and Drainage Before Final Plans
Before you lock in your layout, run basic soil tests to confirm texture, compaction, and nutrient levels so you don’t design beds your soil can’t support.
Next, check soil pH with a reliable kit or lab report, then match plants and amendments to the target range.
Finally, evaluate drainage by watching where water pools after rain and timing a simple percolation test, so you can place beds, paths, and swales where they’ll work best.
Conduct Basic Soil Tests
If you test your soil early, you’ll design with facts instead of guesses and avoid expensive do-overs. Start by taking 8–12 cores from the top 6 inches across each planting zone, then mix them in a clean bucket for a representative sample. This reveals soil composition and nutrient levels so you can plan amendments, plant choices, and bed depth with confidence.
- Texture jar test: Fill a jar with soil and water, shake, and let it settle to estimate sand, silt, and clay layers.
- Organic matter check: Note color, crumb structure, and how easily it forms aggregates; add compost if it’s pale and dusty.
- Drainage test: Dig a 12-inch hole, fill with water, and time the drop to gauge infiltration.
Check Soil pH Levels
Soil texture and drainage tell you how water and roots will behave, but pH tells you what nutrients your plants can actually access. Start with soil testing from several spots and depths in each bed; mix cores into one sample per area. Use a lab test for accuracy, or a calibrated meter for quick checks, and record results on a simple site sketch.
Most vegetables prefer 6.2–7.0, blueberries want 4.5–5.5, and many ornamentals tolerate wider ranges. If your pH is high, plan pH adjustment with elemental sulfur or acid-forming fertilizers. If it’s low, use agricultural lime. Recheck in 6–8 weeks, apply in small increments, and retest before you lock in plant choices.
Evaluate Drainage Patterns
Where does water go after a hard rain—does it soak in, run off, or pool for hours? Before you lock in beds and paths, map drainage flow across your site. Walk the garden during and after storms, and note shiny channels, soggy depressions, and sediment lines that mark water runoff.
- Do a percolation test: dig a 12-inch hole, fill it, drain once, then refill and time the drop; slower than 1 inch/hour signals poor drainage.
- Flag low spots and downspout outlets; keep plantings out of persistent puddles unless you’re building a rain garden.
- Confirm slope with a level and string; aim surface grades away from foundations, and plan swales, berms, or French drains where needed.
Choose a Garden Design Layout: Zones, Beds, Borders
Now that you’ve confirmed soil and drainage, you’ll lock in your garden layout by defining clear zones for sun, shade, access, and use (edibles, ornamentals, play, storage).
You’ll then place beds where they’re easiest to reach and water, sizing them for maintenance with paths wide enough for your tools and wheelbarrow.
Finally, you’ll set borders to control spread, create clean edges, and guide movement through the space.
Define Garden Zones
Before you pick plants or start digging, define clear garden zones so every square foot has a job and a logic. Walk the site at different times, noting sun, shade, wind, noise, views, and how you naturally move from door to gate. Then assign functions, not species, so your layout stays stable as plant choices evolve. Keep service access, storage, and compost routes efficient, and separate high-traffic areas from quiet corners.
- Entry/arrival zone: prioritize sightlines, tidy surfaces, and a focal point such as garden art.
- Living/use zone: place seating and play where you’ll actually use them, near water and power if needed.
- Ecology zone: reserve a low-disturbance strip for a wildlife habitat, away from lights and pets.
Plan Beds And Borders
With your garden zones mapped, you can lock in the physical structure that makes them work: beds and borders. Decide where you’ll use in-ground beds, raised beds, or mixed borders based on soil depth, drainage, and access. Keep bed widths reachable—about 3–4 feet from one side, 5–6 feet if you can work both sides—and leave paths wide enough for a wheelbarrow.
Use borders to define edges and guide movement. Lay out clean lines for formal Garden aesthetics, or gentle curves for a softer look; mark them with a hose before digging.
Match Plant selection to the bed’s role: tall plants at the back, mids in the middle, low edging in front. Repeat key plants to unify zones. Prioritize irrigation and maintenance efficiency.
Plan Paths, Patios, and Access Points First
Even if you’re enthusiastic to start planting, you’ll get a cleaner, more functional layout by mapping circulation first. Sketch how you’ll move from house to gate, shed, bins, and seating, then size routes for real use: 36–48 inches for main paths, 24–30 for secondary, wider where you’ll pass with a wheelbarrow.
- Set access points: mark doors, steps, hose bibs, and service routes; avoid tight corners and dead ends.
- Place hard surfaces: locate patios on level ground with 1–2% slope away from buildings for drainage.
- Anchor focal stops: reserve pads for Decorative fountains and garden sculptures so paths naturally pause, not bottleneck.
Confirm sightlines, then stake everything on the ground before you dig.
Pick a Garden Style and a Simple Color Palette
Pick a clear garden theme—modern, cottage, Mediterranean, or native—so every plant and material choice supports one cohesive look.
Keep the color palette tight by choosing 2–3 main hues plus one neutral, then repeat them in blooms, foliage, and containers to prevent visual clutter.
Balance plants and hardscape by matching the scale and texture of paving, edging, and structures to your planting mass, so neither side overwhelms the other.
Choose Your Garden Theme
Where should you start when every plant and layout idea looks tempting? Choose a clear theme that guides decisions and keeps Garden aesthetics cohesive. Match the theme to your site’s conditions—sun, wind, soil, and how you’ll use the space—so your plan stays realistic.
Then select Plant combinations that repeat forms and textures, so the garden reads as intentional from any angle.
- Define your purpose: dining, play, pollinators, privacy, or low-maintenance.
- Pick a style language: cottage looseness, modern structure, Mediterranean drought-tolerance, woodland shade, or formal symmetry.
- Set anchor elements: one path material, one edging approach, and 2–3 signature plants you’ll echo across beds.
Once you commit, every purchase becomes easier, and mistakes drop fast.
Limit Your Color Range
How do you keep a new garden from looking busy or accidental? You limit your color range and commit to it early. Start with three core hues: one dominant, one supporting, and one accent. For Color harmony, repeat those hues across the space rather than chasing every bloom you like.
During Palette selection, choose flowers and foliage that stay inside your scheme through the seasons—think white, blue, and silver; or pink, burgundy, and chartreuse. Use foliage as your “neutral paint”: greens, grays, and dark leaves calm bright flowers and extend the palette when blooms fade.
If you want variety, vary form and texture, not color. Keep one “wild card” plant max, and place it deliberately.
Balance Plants And Hardscape
A tight color palette keeps the planting calm, but the garden won’t feel finished until the “bones” match it. Start by choosing one style—modern, cottage, Mediterranean—and repeat its materials so beds, paths, and edges read as one system. Keep hardscape surfaces to two textures max, then echo them in pots or Garden ornamentation.
- Set structure first: lay out paths, patios, and edging to define rooms and prevent plants from swallowing circulation.
- Scale features: a Water feature should feel proportional to the seating area and sit on a stable pad, not soil.
- Seamlessly soften transitions: mass plants at hardscape edges, then step heights down toward the path for a clean, maintained line.
Choose Plants for Your Climate, Soil, and Sun
Before you buy a single plant, match your choices to the conditions you actually have—your hardiness zone and heat tolerance, your soil’s texture and pH, and the hours of direct sun your beds receive. That baseline drives smart plant selection and long-term climate adaptability.
Start by testing soil; amend only what’s realistic to maintain, and choose species that thrive in your native range instead of fighting it.
Track sun in midsummer: full sun needs 6+ hours, part sun 3–6, shade under 3. In hot regions, prioritize afternoon shade tolerance; in cold zones, avoid marginally hardy picks.
Match moisture: drought-tolerant plants for fast-draining sand, water-tolerant plants for clay or low spots. Group plants with similar water needs to simplify irrigation.
Plan Seasonal Interest: Bloom, Bark, Evergreen
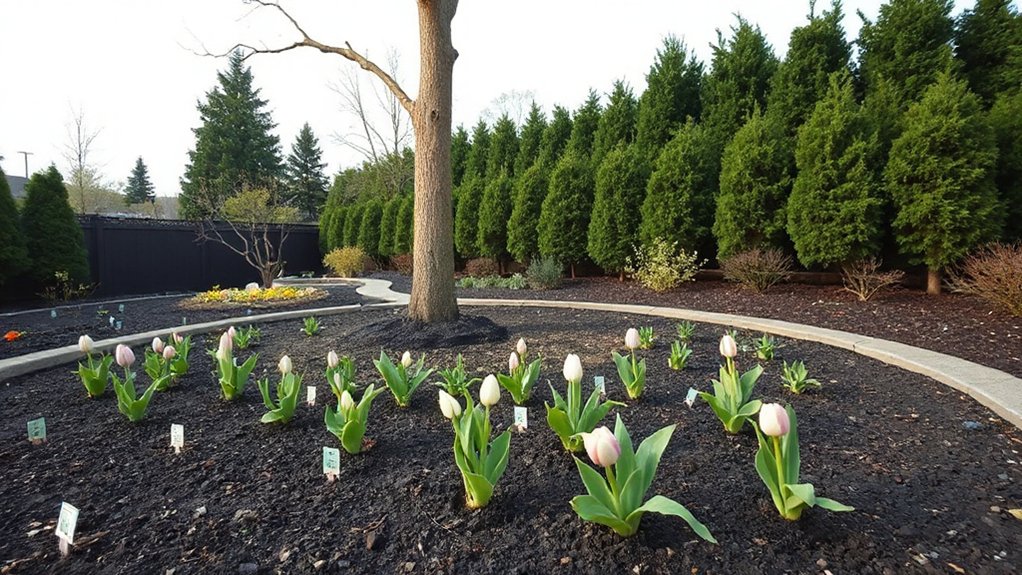
Once you’ve matched plants to your site, design for year-round impact by mapping what looks good in each season—spring and summer bloom, fall color and seedheads, winter bark and structure, plus evergreen backbone.
Build Seasonal color by layering plants with staggered peak moments, then repeat them to create rhythm across beds and views from indoors. Prioritize structure first, then accents.
- Spring–summer: choose early bulbs, midseason perennials, and late bloomers so something’s always flowering.
- Fall: add grasses and perennials with persistent seedheads, plus shrubs and trees with reliable foliage color.
- Winter: select plants with showy bark, strong silhouettes, and Evergreen shrubs to hold the composition when everything else fades.
Check your calendar monthly and fill gaps deliberately.
Plan Low-Maintenance Watering, Mulch, and Edging
If you plan watering, mulch, and edging at the same time as your layout, you’ll lock in a garden that looks finished and needs far less week-to-week attention.
Map hose bibs, slopes, and sunny zones, then choose drip irrigation for beds and soaker lines for shrubs to cut evaporation and weeds.
Group plants by water needs, and prioritize drought tolerant plants in hot, exposed areas.
Install a pressure regulator, filter, and flush valves so the system runs cleanly and doesn’t clog.
Mulch 2–3 inches deep, keeping it off crowns and trunks, and use wood chips for perennials, shredded bark for shrubs.
Define edges with steel, brick, or a spade-cut trench to stop grass creep.
Frequently Asked Questions
Do I Need Permits or HOA Approval Before Starting My Garden Project?
You might need permits or HOA approval, so you should check local codes and HOA rules before digging. Call your city, review covenants, and confirm setbacks; then finalize Garden soil changes and Plant selection confidently.
How Much Should I Budget for a New Garden From Scratch?
You should budget $10–$30 per sq ft for a new garden; smaller DIY beds run less. Prioritize Garden soil, Plant selection, and irrigation. Add 10–20% contingency, and price mulch, edging, tools, and delivery.
When Is the Best Time of Year to Start Building a New Garden?
Start in early spring or early fall—your sweet spot. You’ll align seasonal planting windows and speed root establishment. Prioritize soil preparation: clear debris, test pH, add compost, and grade drainage before installing beds or paths.
Should I Hire a Landscape Designer or Can I DIY Successfully?
You can DIY successfully if you’ve got time, research skills, and patience; hire a landscape designer if you need faster results or complex grading. Nail garden layout first, then plant selection, and phase installation.
How Do I Protect My New Garden From Deer, Rabbits, and Other Pests?
You’ll protect your new garden by installing sturdy fencing, burying hardware cloth, and using netting. Add companion planting barriers, apply natural repellents regularly, remove hiding spots, and rotate deterrents to prevent pest habituation.
Conclusion
You’ve now got a clear path to designing your garden from scratch: set goals, read your site’s sun and wind, map the space, and confirm soil and drainage before you plant. Keep the layout simple with defined zones, beds, and borders, then limit your palette and match plants to your climate. Plan for four-season structure, too. Here’s the payoff: mulching can cut watering needs by up to 25%, so you’ll save time while keeping plants healthier.