
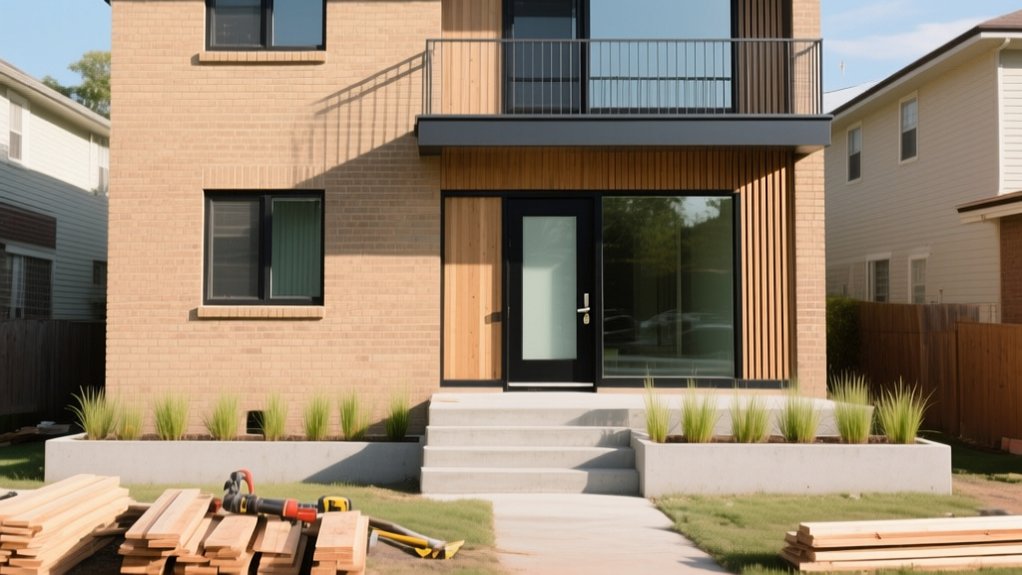

When you modernise a 1960s townhouse, you’re balancing commercial logic with design integrity: retaining original brickwork, stair details, or timber while reworking layout, services, and daylight to meet contemporary expectations for comfort, energy performance, and resale value. Every decision—from opening up the ground floor to choosing heating systems and finishes—affects both cost and character, so you’ll need a clear framework before you start moving walls or signing contracts…
Key Takeaways
- Define your target buyer and re-plan rooms, circulation, and storage to balance quiet workspaces, social areas, and flexible guest or family use.
- Preserve distinctive mid-century features while simplifying layouts, widening openings, and improving indoor–outdoor flow with larger doors, aligned levels, and consistent flooring.
- Upgrade structure, wiring, plumbing, and insulation discreetly, prioritizing reversible, heritage-conscious interventions and high R‑value internal solutions to retain original façades.
- Modernise heating, cooling, and ventilation with heat pumps, zoning, smart controls, efficient fixtures, and improved airtightness for comfort, efficiency, and future-proofing.
- Refresh kitchens, bathrooms, and finishes using durable, low-maintenance materials that reference 1960s design, paired with a restrained palette and minimal but iconic retro accents.
Clarifying Your Vision for a 1960s Townhouse

Before you start specifying fixtures or knocking down walls, you need a clear, market-aligned vision for what your 1960s townhouse should become: a carefully edited blend of mid-century structure, contemporary performance, and buyer-ready appeal.
Define your target buyer first: young professionals, downsizers, or a family. Each segment drives different spatial priorities, interior color schemes, and storage expectations.
Map how you want rooms to function: quiet work zones, open entertaining, or flexible guest space. Let that program dictate circulation, zoning, and furniture placement rather than treating décor as an afterthought.
Decide which original features you’ll hero—stair balustrades, brickwork, window proportions—and which you’ll visually downplay.
Establish a concise material and color palette so every subsequent design decision reinforces a coherent, saleable concept.
Assessing Structure, Services, and Energy Performance
You now need to interrogate the townhouse’s bones and systems: confirm the structural integrity of the original frame, floors, and load-bearing walls before you commit to any reconfiguration.
In parallel, you should have an electrician and plumber assess capacity, condition, and compliance so new lighting, appliances, and bathrooms won’t overload outdated circuits or pipework.
With the fabric understood, you can target thermal efficiency upgrades—insulation, airtightness, glazing, and heating strategy—that reduce operational costs and position the property competitively in today’s energy-conscious market.
Evaluating Existing Structural Integrity
How can you modernise a 1960s townhouse responsibly without first understanding what’s already working hard behind the walls and under the floors? You start by commissioning a structural engineer to review drawings, visible structure, and any movement cracks. They’ll test foundation stability, checking for subsidence, settlement, or historic underpinning that could limit extensions or additional storeys.
Next, you undertake load bearing analysis. You verify which walls, columns, and spine beams carry structural loads before opening up floorplates or inserting large glazed openings.
You assess timber joists for span, deflection, and notching, and concrete elements for carbonation or corrosion.
You then document capacities and constraints, so your design ambitions, construction sequencing, and resale-focused upgrades sit on a verified, insurable structural baseline.
Analysing Electrical And Plumbing
Once the structure’s verified, attention shifts to the electrical and plumbing systems that underpin safety, comfort, and long-term value. You start by commissioning an electrical condition report to identify overloaded circuits, outdated panels, and non-compliant cabling. This informs where you’ll integrate smart wiring for zoned lighting, data, and future automation without over-chasing fragile 1960s walls.
On the plumbing side, you map existing pipe routes, materials, and pressure, checking for concealed galvanised steel, undersized lines, and inadequate ventilation. You then rationalise pipework to reduce joints, improve maintenance access, and protect finishes.
Specify fixtures and appliances with high water efficiency ratings, pair them with pressure-balancing valves, and plan isolation points so future upgrades cause minimal disruption and maximum resale appeal.
Improving Thermal Efficiency Strategies
With structure, wiring, and pipework mapped, the next step is to make the 1960s shell work as a high-performing thermal envelope rather than a perpetual energy liability. You start by modelling heat loss through walls, roof, floors, and openings. Then target weak points with higher-spec insulation, airtightness tapes, and thermally broken junctions.
Specify sustainable materials—wood-fibre boards, cellulose, cork—where they improve performance without compromising internal space or resale expectations. Upgrade glazing to low‑e, argon-filled units and rationalise openings for solar gain and cross‑ventilation.
Integrate smart home technology: zoning, learning thermostats, TRVs, and blind controls that respond to occupancy and solar input. Link these to a monitored MVHR system and future‑ready heat pump, aligning energy performance with long-term operating costs.
Opening Up the Layout Without Losing Character
Although opening up a 1960s townhouse can release light, flow, and real estate value, you need to edit the layout surgically to avoid erasing its architectural DNA. Start by mapping structural walls, service risers, and original stair positions, then identify where you can create wider openings rather than full demolitions. This respects Historic preservation goals while still modernising circulation.
Retain signature mid‑century elements—slim balustrades, brick piers, or timber room dividers—and integrate them into a more open plan to sharpen interior aesthetics. Use partial height walls, glazed partitions, or aligned openings to maintain sightlines without losing zoning.
Always coordinate layout changes with likely buyer profiles, optimising room proportions, storage walls, and furniture planning to strengthen long‑term market appeal.
Bringing in Natural Light and a Strong Indoor‑Outdoor Flow
You now need to treat every opening as a calibrated light instrument, expanding windows and door portals to maximise daylight without compromising structure or privacy.
By strategically widening thresholds to the garden or balcony, you create a seamless indoor‑outdoor line that reads as valuable living area in buyer’s eyes.
In courtyard townhouses, you’ll get the biggest uplift by optimising light flow through stacked glazing, high-performance sliders, and carefully positioned apertures that pull sun deep into the plan.
Expanding Window And Door Openings
Once you start opening up a 1960s townhouse—literally—by enlarging windows and converting small exterior doors into generous openings, the entire performance of the home changes: light levels increase, circulation improves, and the perceived floor area expands.
You’re also balancing historical preservation with contemporary expectations, so every cut in the wall should support long‑term value, not just short‑term drama.
You begin by mapping existing structure, services, and facade restoration goals, then target key elevations for bolder apertures that won’t undermine the townhouse’s character or thermal performance.
- Re‑span masonry with engineered lintels and discreet steel frames.
- Specify high‑performance glazing and low‑profile thresholds to extend living spaces visually.
- Align new openings with furniture layouts and view corridors to enhance resale appeal.
Optimising Courtyard Light Flow
Expanding window and door openings sets the stage, but the courtyard is where a 1960s townhouse can gain disproportionate value in light and spatial quality. You start by mapping sun paths and overshadowing from neighbouring walls, then set target lux levels for living spaces and thresholds.
Use pale, matt hardscape finishes to increase reflectance without glare, and specify light canopies or pergolas with adjustable slats to modulate high summer sun. Courtyard landscaping should stay low and layered near glazing, reserving taller planting for perimeter privacy screening so you don’t block daylight.
Align floor levels inside and out, minimise threshold profiles, and use large-format pavers to visually extend interior lines. Buyers read this as generous, usable living area, not leftover open space.
Upgrading Insulation, Heating, and Electrical for Today
Although the brick shell of a 1960s townhouse often feels robust, its insulation, heating, and electrical systems typically underperform against contemporary standards for comfort, efficiency, and compliance. You upgrade performance while honouring historical preservation and cultural significance, so any intervention must be both discreet and reversible where possible.
- Insulation – Introduce internal wall lining, roof insulation, and underfloor solutions with high R-values, minimising thermal bridges and preserving external façades.
- Heating – Replace dated radiators or storage heaters with low-temperature, zoning-ready systems, ideally integrated with heat pumps and smart controls.
- Electrical – Rewire to current codes, expand capacity for EV charging and ICT loads, and specify LED lighting and protective devices that future‑proof the property and enhance resale value.
Modernising Kitchens and Bathrooms in a 1960s Townhouse
While the original kitchens and bathrooms in a 1960s townhouse often feel dated and inefficient, they also provide a rational grid and generous service zones that you can exploit for a high‑performance contemporary upgrade.
You start by reassessing layout: consolidate wet zones, straighten circulation, and clear sightlines to improve usability and perceived volume.
You’ll typically re‑run plumbing in accessible service walls, integrate ventilation that meets current codes, and specify efficient task lighting over worktops, mirrors, and circulation routes.
Retain structural elements that carry Vintage charm, but rationalise storage with full‑height cabinetry and integrated niches.
Finally, plan coherent color palettes that support resale: light, reflective tones to maximise daylight, with controlled contrast to delineate work zones and keep maintenance practical.
Choosing Finishes That Balance Retro and Contemporary
With the core layouts and services resolved, you can focus on finishes that bridge mid‑century character with current buyer expectations. Prioritise durable, low‑maintenance materials that visually reference the 1960s without feeling theme‑park retro.
- Specify timber veneers, terrazzo, and fine‑lined brick or block to echo original fabric, then balance them with matte, neutral wall colours and slimline skirtings for a cleaner contemporary read.
- Use Vintage decor and Retro furniture as curated accents, not structural statements: one iconic piece per room keeps resale‑friendly buyers comfortable while still signalling design intent.
- Coordinate metalwork and hardware in two finishes maximum—typically black or bronze with brushed stainless—so lighting, door furniture, and balustrades feel coherent, elevating value perception and photographic appeal.
Planning Budget, Phasing, and Working With Professionals

Once you’ve defined the design direction, you need a clear financial and delivery strategy so the project doesn’t outgrow your budget or the neighbourhood’s ceiling values.
Begin budget planning by separating compliance work (structure, services, insulation) from aesthetic upgrades. Assign contingencies: typically 10–15% for known scope, 20% if structure’s uncertain.
Phase the works logically: first rectify envelope and services, then internal reconfiguration, and finally finishes and joinery. This lets you pause between phases without compromising safety or resale.
For contractor selection, issue a detailed scope, drawings, and specification schedule so quotes are comparable. Assess not only price, but programme, sequencing approach, and communication style.
Lock in milestones, provisional sums, and variation procedures in a written contract before work starts.
Frequently Asked Questions
How Do I Handle Party-Wall Issues Unique to Terraced 1960S Townhouses?
You commission a party-wall surveyor early, map exact boundaries, then specify shared wall modifications in a schedule of condition. You serve notices, negotiate access, pre‑agree vibration limits, and document resolutions to pre‑empt property boundary disputes and future resale friction.
What Planning Permissions Are Typically Required for External Changes to a 1960S Façade?
You’ll typically need planning consent for altering façade materials and adding external lighting; in some UK boroughs, 60% of refusals cite unsympathetic elevations, so you’ll rigorously evidence context, detailing, light-spill, and energy performance to satisfy officers.
How Can I Improve Soundproofing Between Floors and Neighbouring Properties in a Townhouse?
You prioritise layered soundproofing solutions: add acoustic mineral wool and resilient bars between joists, install double-layer acoustic plasterboard, upgrade floor underlays, seal junctions, and consider independent stud walls with insulation enhancements along party walls for competitive performance.
Are There Heritage or Conservation Constraints That Might Limit Modern Exterior Alterations?
Yes, you’ll likely face Heritage restrictions and Conservation guidelines that limit façade changes, window profiles, and materials; you coincidentally gain market value, though, by specifying compliant high-performance glazing, discreet services integration, and reversible, documentable interventions.
What Are Common Timeline Expectations for a Full 1960S Townhouse Modernisation Project?
You’ll typically allow 6–12 months, from surveys and consents to snagging. Structural upgrades, services, and interior lighting integration dominate early phases; joinery, finishes, and landscaping design complete the programme, influenced by contractor capacity and supply-chain volatility.
Conclusion
When you modernise a 1960s townhouse with clear intent, you align structure, systems, and style to today’s performance and lifestyle benchmarks. You’ve respected original fabric, optimised light and flow, and upgraded services for efficiency and compliance. The result is a flexible, future‑proofed asset with strong market appeal and distinctive character. And isn’t that the real goal—creating a home that feels both architecturally authentic and commercially intelligent, now and for the next buyer?