
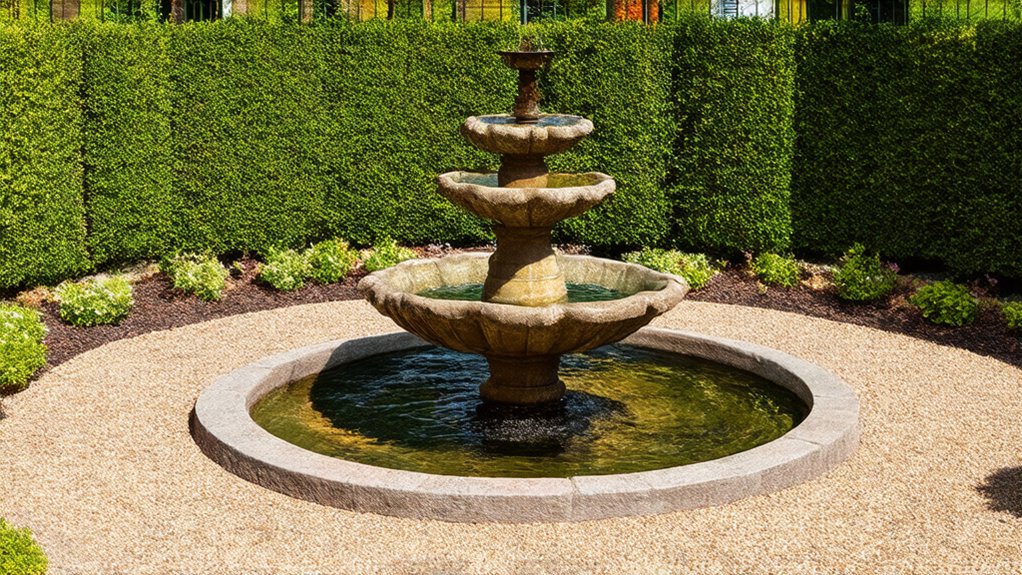

Key Takeaways
- Choose a focal point to anchor views, create hierarchy, and reduce visual clutter.
- Place it on primary sightlines and at path termini, bends, or door thresholds for deliberate visual landing.
- Match the focal element to garden style, materials, and formality for coherence.
- Scale the focal point to viewing distance and garden size, testing placement with temporary markers before installation.
- Strengthen emphasis using contrast in color, texture, form, and lighting, supported by layered planting that frames without blocking.
Define What a Garden Focal Point Does
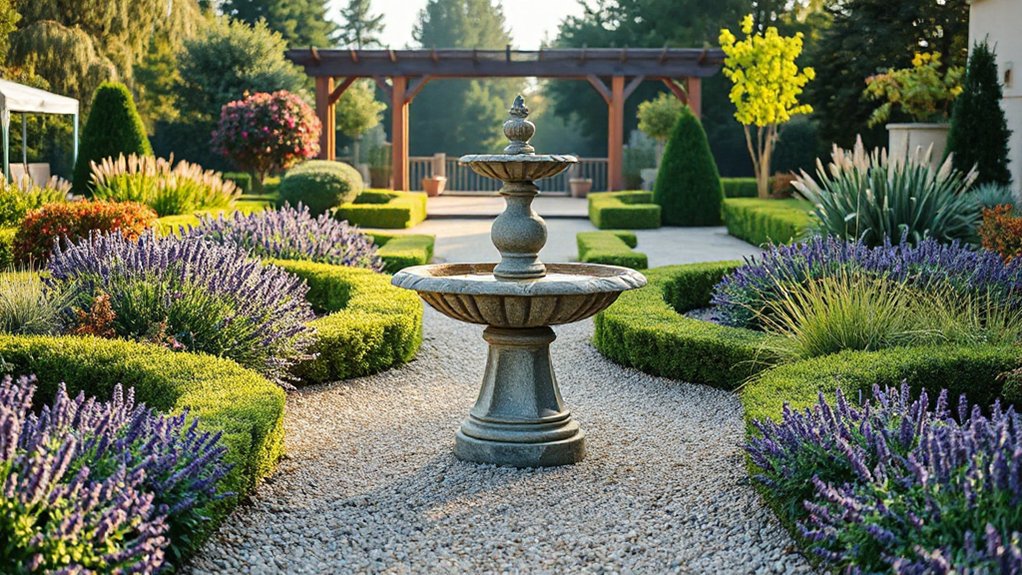
Although a garden can contain many attractive elements, a focal point gives the design a clear visual anchor by directing your eye to a deliberate feature and establishing a hierarchy among surrounding planting and hardscape. You use it to organise sightlines, control pace, and prevent visual clutter by concentrating attention where you intend.
A focal point also strengthens spatial legibility: it marks destinations, frames vistas, and clarifies progression between garden rooms. You can employ focal points to create scale cues, making long borders feel shorter or small courtyards feel deeper through forced perspective.
When you position garden art or outdoor sculptures, you’re not merely decorating; you’re setting a compositional centre that balances massing, texture, and colour contrast. Properly defined, it improves coherence and guides circulation without signage.
Pick the Best Focal Point for Your Garden Style
Where do you start when every garden feature looks like it could command attention? You start by matching the focal element to your garden’s design language, materials, and level of formality.
In a contemporary scheme, you’ll favour crisp geometry, restrained planting, and a Garden sculpture in stone, corten, or stainless steel. In a cottage garden, you’ll choose softer forms and patinated finishes that harmonise with dense herbaceous texture.
In a formal layout, you’ll select symmetrical, architectonic pieces that reinforce structure, often anchored by clipped evergreens and precise decorative edging.
- Style coherence: repeat key materials and shapes.
- Scale discipline: size the feature to the space’s proportions.
- Seasonal legibility: guarantee it reads in winter as well as summer.
Place Your Focal Point on Key Sightlines
To make a focal point read as intentional rather than incidental, you must align it with the garden’s primary sightlines and viewing nodes. Begin by mapping where you naturally pause: the back door threshold, a main path bend, a terrace seat, or a window axis.
Place the feature at the terminus of these lines so your eye lands decisively, not diffusely.
Use hardscape geometry to reinforce the view corridor: path centres, edging, or hedge faces should direct attention without visual noise. If you’re positioning Birdbaths, set them where approach routes converge and where reflected light reads clearly.
With Garden sculptures, exploit oblique angles and negative space, ensuring the silhouette remains legible against a calm backdrop. Test the alignment by walking the route at normal pace and adjusting.
Right-Size the Focal Point to Your Space
You’ll achieve a stronger focal point when you match its scale to the garden’s proportions and viewing distances.
Choose an element that asserts visual hierarchy without overwhelming paths, planting masses, or built structures.
Then calibrate form, height, and materiality so it balances with its surroundings and reads as intentional rather than intrusive.
Match Scale To Garden
How large should a focal point be to read as intentional rather than overpowering? You’ll achieve clarity by sizing it to the garden’s viewing distances, not your catalogue preferences.
In compact courtyards, choose Garden art with crisp silhouette and restrained height so it reads immediately. In larger plots, increase mass and vertical presence so the feature anchors long sightlines and doesn’t vanish at mid-range.
Use Pathway design to test scale: walk the primary route and note when the focal point becomes legible, then adjust accordingly.
- Measure the dominant viewing corridor and set height to suit that span.
- Match visual weight to planting volume, not just bed width.
- Prototype with a temporary marker before committing.
Balance With Surroundings
Three contextual cues should govern your focal point’s scale: proportion, contrast, and breathing space. You’ll achieve proportion by relating height and mass to nearby boundaries, canopy, and sightlines, not by copying dimensions.
You’ll create contrast through form, texture, or colour temperature, yet you must keep the palette coherent so the feature reads intentional rather than intrusive. You’ll preserve breathing space by allowing clear margins of planting and hardscape, preventing visual crowding and maintenance bottlenecks.
Place the focal point where circulation pauses, then buffer it with sustainable planting that repeats surrounding species. If you’re integrating wildlife habitats, avoid over-dominant ornamentation; let water, deadwood, and shelter planting remain legible.
Finally, reassess from key viewpoints and adjust scale, not detail.
Use Contrast to Make a Garden Focal Point Stand Out
You’ll make a garden focal point read instantly by engineering contrast in colour and texture against its surrounding planting palette.
You can heighten emphasis through scale and form contrast, positioning a bold mass or distinctive silhouette beside finer, lower elements.
You’ll further sharpen visibility by controlling light and shadow contrast, using aspect, backlighting, and layered canopy to model the feature.
Color And Texture Contrast
- Use complementary or near-complementary hues to create a controlled visual jolt without breaking colour harmony.
- Exploit light–dark value shifts: pale flowers against deep evergreen, or burgundy foliage against silvered leaves.
- Introduce Texture variation: pair glossy, entire leaves with fine, filamentous grasses, or spiky forms with velvety groundcover for tactile contrast.
Scale And Form Contrast
Where does the eye land when colour and texture feel balanced? It settles on scale and form, so you should engineer a deliberate mismatch. Introduce a bold vertical element against a low, horizontal planting plane, or set a rounded, clipped mass beside fine, upright grasses.
Oversize one specimen tree or structural shrub to dominate subordinate beds, but keep proportions credible to the space. Use Garden art with emphatic geometry—sphere, obelisk, or monolith—to interrupt organic outlines and create legible hierarchy.
Refine Focal point placement by aligning the dominant form with primary sightlines from entrances, paths, and key seating positions. You’ll intensify contrast further by repeating the supporting forms elsewhere at smaller scale, so the focal object reads singular yet integrated.
Light And Shadow Contrast
Although planting palettes can harmonise, light direction and cast shadow still determine which object reads as dominant, so treat illumination as a design material. You’ll strengthen a focal point by choreographing contrast between highlight and occlusion, ensuring the eye settles where luminance peaks and edges sharpen. Use Lighting techniques to model form, reveal texture, and control visual hierarchy, especially at dawn, dusk, and under moonlight.
- Position the focal element where raking light strikes it, so relief and surface grain become legible.
- Introduce a darker backdrop—hedge, wall, or yew—to amplify silhouette and increase figure–ground separation.
- Add discreet, warm uplights to sustain emphasis after dark, while preserving calibrated shadow play across adjacent paths and borders.
Repeat Color and Shape to Support the Focal Point
As your eye moves through the garden, repeated colour cues and consistent forms can reinforce the focal point and prevent competing distractions. You achieve this through disciplined Color repetition: echo a dominant hue in paving accents, painted joinery, container glazes, or gravel, keeping saturation and temperature aligned so the focal element reads as intentional, not accidental.
Support that hierarchy with shape consistency. Repeat a single geometry—circles, rectilinear modules, or strong verticals—across edging, paths, walls, and ornaments, so secondary features harmonise rather than shout.
Maintain proportional relationships: match the focal point’s scale with recurring elements that are smaller but frequent, creating rhythm and visual cadence. Limit the palette and the number of forms to avoid visual noise, and you’ll direct attention precisely where you want it.
Use Trees and Plants as Living Focal Points
You can establish a strong focal point by positioning a specimen tree as a structural anchor within key sightlines.
You’ll then build depth through layered planting—canopy, understorey, and groundcover—to control visual weight and perspective.
You can reinforce the composition with seasonal colour and texture shifts that sustain year-round interest without undermining the primary emphasis.
Specimen Trees As Anchors
- Choose a species with durable form, seasonal interest, and appropriate mature dimensions for the space.
- Site it to frame key views, mark thresholds, or terminate a path without obstructing movement.
- Specify correct planting depth, staking, and irrigation so establishment is reliable and long-lived.
You’ll achieve coherence while keeping the design legible and intentional.
Layered Planting For Depth
A specimen tree can anchor a composition, but layered planting gives that anchor context and visual depth. You’ll achieve this by arranging vegetation in distinct strata: canopy, understorey, shrub layer, and groundcover.
Establish the tree as the primary mass, then set subordinate forms to reinforce its scale and direct sightlines.
Maintain a clear visual hierarchy by graduating height, leaf size, and density from front to back, keeping the boldest structure closest to the focal point. You can use repeated groupings to create rhythm and guide movement, while leaving negative space to prevent visual congestion.
Align layers with circulation routes and viewing angles so the focal point reads coherently from key approaches. Prune for legibility, and edit aggressively so each layer serves the composition.
Seasonal Color And Texture
Where layered structure establishes hierarchy, seasonal colour and texture animate that framework, turning planting into a living focal point that shifts through the year. You’ll achieve this by specifying trees and shrubs with sequential interest, then underplanting to amplify contrast at eye level.
Prioritise Seasonal blooms for timed emphasis, and use Texture variations to sharpen form and improve legibility from key viewpoints.
- Select a specimen tree with distinctive bark or autumn colour, then light it with ground-level uplighting for winter definition.
- Programme spring-to-autumn succession using bulbs, herbaceous perennials, and repeat-flowering cultivars to sustain chromatic focus.
- Layer foliage texture—glossy, dissected, linear, and felted—so massing reads clearly even when flowers fade.
Maintain disciplined pruning and consistent spacing to preserve focal intent year-round.
Use Paths, Arbors, and Water as Focal Points
Although planting schemes often get the attention, you can create powerful focal points by shaping circulation and structure with paths, arbours, and water features. Use Path patterns to direct sightlines: a straight axial walk heightens formality, while a sinuous route builds anticipation and frames sequential views.
Define edges with contrasting aggregates, setts, or mown strips so the line reads crisply from key viewpoints. Position arbours at thresholds or termini to mark arrival and compress space before release; select Arbor styles that suit your architecture, from timber pergolas to steel portals.
Introduce water where it can be heard and seen, such as a rill along a path or a reflective basin at an axis end. Keep detailing restrained, and maintain clear hierarchy.
Keep Focal Points Interesting in Every Season

Even if your garden’s structure reads well in summer, a focal point earns its keep only when it holds visual weight through every season. You’ll achieve continuity by pairing enduring form with calibrated change, so the eye always finds an intentional anchor.
- Specify a permanent framework: clipped evergreens, strong branching, or decorative sculptures that retain silhouette in frost and low light.
- Layer seasonal plantings for succession: bulbs for late winter, herbaceous peaks for midsummer, and seedheads plus grasses for autumn movement.
- Engineer seasonal lighting and backdrop control: uplight key forms, use pale gravel or bark to amplify contrast, and refresh containers with winter stems.
You’re not chasing novelty; you’re managing phenology, texture, and tonal range so the focal point stays authoritative year-round.
Common Garden Focal Point Mistakes to Avoid
Because a focal point concentrates attention, small design errors amplify quickly and can destabilise the entire composition. Don’t select a feature that’s underscaled for the viewing distance, or it’ll read as visual noise rather than a clear anchor. Avoid competing focal points; you can’t ask the eye to prioritise three centres at once.
Resist clutter: too much garden furniture or scattered decorative ornaments weakens hierarchy and interrupts sightlines. Don’t ignore context—place forms where background contrast supports legibility, not against busy planting.
Check axial alignment; off-centre positioning can look accidental unless you counterbalance massing elsewhere.
Finally, don’t neglect maintenance: weathered finishes, algae, and failing lighting diminish perceived quality and undermine the intended narrative of the space.
Frequently Asked Questions
How Much Does It Cost to Add a Focal Point Feature?
You’ll typically spend £200–£5,000+ to add a focal point feature: a garden sculpture often costs £200–£2,000 installed, while a water feature runs £500–£5,000+ depending on groundwork, electrics, plumbing, and materials.
Do Focal Points Require Permits or HOA Approval?
Yes, you may need permits or HOA approval, depending on scale, utilities, and covenants. You should consult local planning and your association before installing landscape architecture elements or garden art, especially lighting, walls, ponds, or structures.
What Lighting Options Highlight Focal Points at Night?
Choose uplights, downlights, grazing lights, or spotlights in Landscape lighting to reveal form and texture, crafting Nighttime ambiance. Like a gallery’s 3,000K wash, you’ll layer warm LEDs, shield glare, and set timers.
How Do I Maintain a Focal Point With Minimal Upkeep?
You maintain it with durable Plant selection and streamlined Maintenance tips: choose evergreen specimens, drought-tolerant cultivars, and slow-growing forms; apply mulch, install drip irrigation, use edging, and schedule seasonal pruning, cleaning, and inspections annually.
Can I Create a Focal Point in a Balcony or Rooftop Garden?
Why not? You can create a focal point in a balcony or rooftop garden by positioning a statement container or sculpture, refining balcony aesthetics with symmetry, and selecting durable rooftop materials; you’ll anchor sightlines while managing wind exposure.
Conclusion
When you create a focal point, you’re directing the eye, organising circulation, and giving the garden a clear hierarchy. If your space feels scattered, set one strong feature on a key sightline and size it to the plot, then amplify it with contrast and seasonal structure. For example, a narrow London terrace gained depth when the owners aligned a simple stone urn with the back-door view, framed it with clipped yew, and lit it for winter presence.