


You’ll get the best floor to ceiling windows by starting with orientation, climate zone, privacy, and structural capacity, then confirming code items like egress, safety glazing, sill heights, and fire separation. Specify engineered or steel headers, protect shear walls, and detail flashing, back dams, and continuous air seals. Choose fixed, sliding, or corner layouts based on ventilation, circulation, and sightlines. Tune U-factor, SHGC, low-E, and warm-edge spacers, then add exterior shading or overhangs; keep going for specs, costs, and install sequencing.
Key Takeaways
- Evaluate orientation, climate, privacy, and structure before sizing glazing to prevent overheating, glare, and framing deflection.
- Confirm code compliance for egress, safety glazing, sill heights, fire separation, and energy targets before finalizing window locations.
- Choose styles strategically: fixed for maximum glass, sliders for low-clearance ventilation, and corner systems needing specialized flashing and movement joints.
- Specify frames and glass for performance: low U-factor, appropriate SHGC, low‑E coatings, warm-edge spacers, and thermally broken frames to reduce condensation.
- Detail airtight, watertight installation with continuous air barriers, taped membranes, back dams, and exterior shading to control solar loads.
Are Floor-to-Ceiling Windows Right for Your Home?
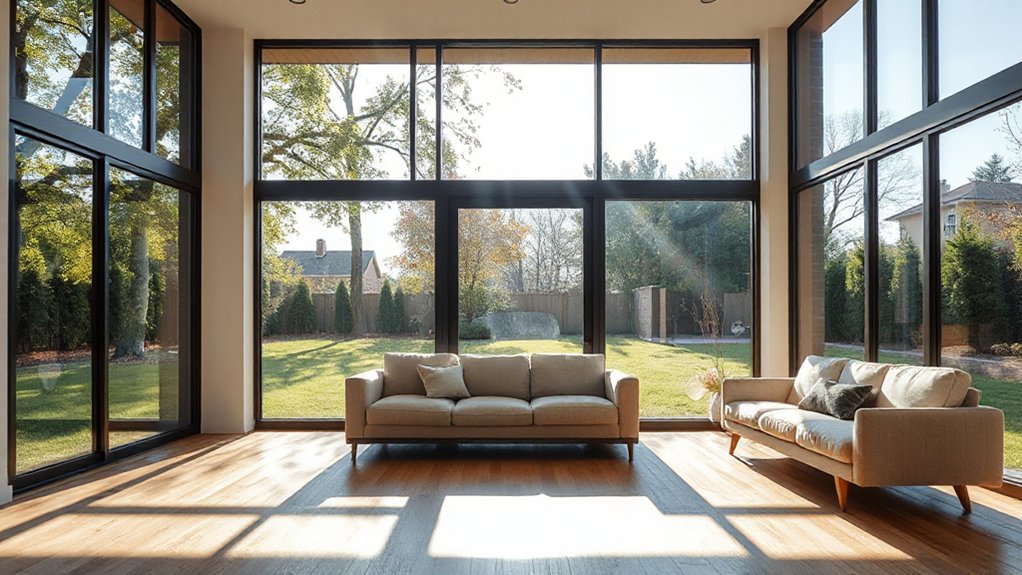
Before you commit to floor-to-ceiling glazing, evaluate how it’ll perform in your specific context—orientation, climate zone, privacy, and structure all drive whether it’s a smart upgrade or an ongoing liability.
Start with solar control: south and west exposures can spike cooling loads unless you specify low‑SHGC glazing, exterior shading, and tight air seals.
In cold zones, prioritize low U‑factor units and warm-edge spacers to cut downdrafts and condensation risk.
Plan window placement with your furniture and circulation so views align with primary seating, not glare on screens.
For interior design, balance transparency with layered privacy—sheers, blinds, or switchable glass—so daylight stays usable.
Finally, check acoustics; larger panes transmit more noise unless you choose laminated, thicker assemblies.
Structural and Code Limits Before You Design
Although floor-to-ceiling glass reads as a simple elevation move, you’ve got to size it against the structural load path and the codes that govern openings. Start by locating bearing lines, joist direction, and lateral bracing so you don’t interrupt shear walls or required portal frames.
You’ll often need a steel or engineered header sized for dead, live, and wind loads, plus deflection limits that protect seals and glazing. Check sill heights, egress requirements, tempered or laminated safety glazing at hazardous locations, and fall protection where grades drop.
Coordinate thermal breaks and attachment points so anchors transfer loads without crushing the frame. Finally, confirm fire separation distances, energy performance targets, and manufacturer span tables to keep Structural integrity and Building codes aligned.
Floor-to-Ceiling Window Styles (Sliding, Fixed, Corner)
Once you’ve confirmed the load path and code constraints, choose a floor-to-ceiling window style based on how you need the opening to operate, span, and weather-seal.
Sliding systems give you ventilation and access with minimal swing clearance, but you’ll manage interlock sightlines, track drainage, and air infiltration at the meeting stile.
Fixed panels maximize glass area, simplify sealing, and improve acoustics, yet you’ll rely on adjacent operables for egress and purge ventilation.
Corner windows remove a visual boundary; specify a butt-glazed or minimally framed corner, confirm movement joints, and detail continuous flashing and sill pans to avoid leaks.
Plan window treatments early: pockets, ceiling tracks, or recessed shades must clear handles and corners.
Balance glare control, privacy, and aesthetic considerations with mullion rhythm and panel proportions.
Best Frame Materials for Floor-to-Ceiling Windows
Because the frame becomes both a structural member and a thermal bridge in a floor-to-ceiling opening, you should choose material based on span stiffness, air/water performance, and the project’s climate and maintenance tolerance.
Thermally broken aluminum gives you slim sightlines, high rigidity for tall panels, and consistent tolerances; specify robust finishes to boost Frame durability in coastal or high-UV sites.
Wood delivers premium aesthetic appeal and good dimensional stability, but you’ll need disciplined sealing schedules and protected sills.
Fiberglass composites offer low movement, strong corners, and paintable surfaces, making them ideal where you want quiet lines without frequent upkeep.
Steel provides maximum stiffness and minimal profiles, yet demands meticulous corrosion protection and precise fabrication.
Hybrid systems balance performance: aluminum-clad wood or composite cores with metal exteriors.
Glass Specs That Matter (U-Factor, SHGC, Safety)

When you spec floor-to-ceiling glazing, the glass package drives most of the thermal load, comfort, and code compliance, so you can’t treat it like a generic “pane.” Start with U-factor (insulating performance) and SHGC (solar heat gain) in the context of orientation and climate—then lock in the right safety build (tempered, laminated, or both) for impact risk, fall protection, and post-breakage behavior.
You’ll typically target lower U-factors in cold climates to boost thermal performance, while tuning SHGC higher for passive gains or lower to control overheating on west/south exposures. Specify low‑E coatings and gas fills intentionally, since they shift both metrics.
For safety, use tempered where human impact is likely; add laminated for barrier integrity, glass durability, and retained fragments after breakage. Confirm local glazing and guard requirements.
Energy-Efficiency Upgrades: Shading, Overhangs, Install
Although high-performance glazing sets your baseline, you’ll usually get the biggest comfort gains on floor-to-ceiling windows by controlling sun before it hits the glass and by tightening the install.
Prioritize exterior control: Smart shading like motorized louvers or screens can cut peak solar loads while preserving viewlines and allowing seasonal tuning.
Pair it with Overhang design sized to your latitude: calculate projection-to-height ratios to block high summer sun yet admit low winter angles, and extend returns to limit morning/afternoon exposure.
Then seal the assembly like a roof detail. Specify continuous air barriers, taped membranes at rough openings, back dams at sills, and low-expansion foam at frames.
Insulate and cap the head/jamb cavities, and use thermally broken clips at structural supports.
Privacy and Glare Solutions (Shades, Film, Smart Glass)
If your floor-to-ceiling windows deliver the view but expose you to sightlines and harsh specular glare, you can tune both with layered privacy and light-control strategies that don’t compromise daylighting.
Pair automated shades with dual-fabric rollers: an open-weave sunscreen (3–5% openness) for glare control and view retention, plus a blackout or dim-out layer for evening privacy.
Specify side channels or tensioned cables to reduce edge light leaks on tall spans.
Add privacy films where you need continuous screening: frosted, etched, or gradient films obscure eye-level views while preserving upper daylight; spectrally selective options cut visible glare without a mirror-like exterior.
For dynamic control, smart glass (electrochromic or PDLC) modulates transmittance or switches to diffuse, useful in bathrooms, stair landings, or street-facing façades.
Costs, Lead Times, and Installation Planning
Dialing in privacy and glare is only half the spec—your shade, film, or smart-glass package also has to fit the budget, procurement window, and install sequence for floor-to-ceiling openings.
Start with a line-item budget: glazing, controls, wiring, head pockets, and commissioning often cost more than fabric or film.
Verify lead times early—custom roller shades, laminated films, and switchable glass can run 4–12+ weeks, plus transit and field-measure windows.
Plan installation around finishes: rough-in power and low-voltage before drywall, then field-measure after frames plumb, and install treatments after paint to protect optics.
Coordinate tolerances at mullions and returns so you avoid light gaps and preserve aesthetic considerations.
Build Maintenance tips into specs: access panels, cleanable edges, and replaceable motors.
Frequently Asked Questions
How Do Floor-To-Ceiling Windows Affect Indoor Plant Growth and Placement?
Floor-to-ceiling windows boost PAR, so you’ll meet Sunlight requirements more easily and expand Plant placement options. Place high-light plants within 1–3 feet; use shear-filtered zones for low-light species and rotate periodically.
Can Floor-To-Ceiling Windows Reduce Noise From Busy Streets or Airports?
Yes, you can reduce noise, but only with high-spec glazing and sealing. Use Soundproofing techniques like laminated double/triple panes, wide air gaps, airtight frames, and acoustic curtains—key Noise reduction strategies for streets or airports.
What Cleaning Tools Work Best for Very Tall Floor-To-Ceiling Windows?
You’ll get best results with a telescoping carbon-fiber pole, swivel squeegee, microfiber scrubber, and purified-water system—reducing spotting by 80%. Pair these Cleaning techniques with a magnetic cleaner, safety harness, and scheduled Window maintenance.
Do Floor-To-Ceiling Windows Impact Home Resale Value and Buyer Interest?
Yes, you’ll often boost resale value and buyer interest with floor-to-ceiling windows because they maximize daylight, views, and perceived space. But you’ll need to address Energy efficiency glazing and shading, plus Privacy concerns.
How Do You Deter Birds From Colliding With Large Glass Walls?
You deter bird collisions by applying Bird deterrents like exterior dot-pattern Glass film options, UV-reflective coatings, and taut netting. You’ll add high-contrast markers at 2×4-inch spacing, reduce night lighting, and position feeders away.
Conclusion
If you choose floor-to-ceiling windows, you’ll balance design impact with performance details. Confirm structural spans, egress rules, and wind loads early, then match the style—fixed, sliding, or corner—to your plan. Specify frames and glazing by numbers: U-factor, SHGC, laminated/tempered safety, and airtight installation. Add overhangs, exterior shading, and glare control to protect comfort and finishes. Want the view without the drawbacks? Plan privacy, lead times, and budget before ordering.