


When you paint interior walls, small mistakes in prep, product choice, and technique quickly show up as peeling, lap marks, and uneven sheen that you can’t hide with extra coats. You might skip sanding glossy trim, grab the wrong roller nap, or rush a recoat and trap solvents under the surface. The result is a finish that fails early—unless you understand the most common errors and how to prevent, or repair, each one.
Key Takeaways
- Skipping surface prep—washing, sanding, filling, and priming—prevents proper adhesion and causes peeling, flashing, and visible repairs.
- Using the wrong paint type or sheen for room conditions leads to moisture damage, premature wear, and exaggerated surface flaws.
- Low‑quality or mismatched brushes and rollers create streaks, shedding, uneven texture, and tram‑line roller marks no topcoat can hide.
- Poor application technique—wandering cut lines, dry-rolling, and stopping mid-wall—causes lap marks, picture framing, and inconsistent sheen.
- Rushing drying and recoat times traps solvents, resulting in tacky walls, blistering, poor adhesion, and a weak, uneven finish.
Skipping Prep: The First Interior Painting Mistake
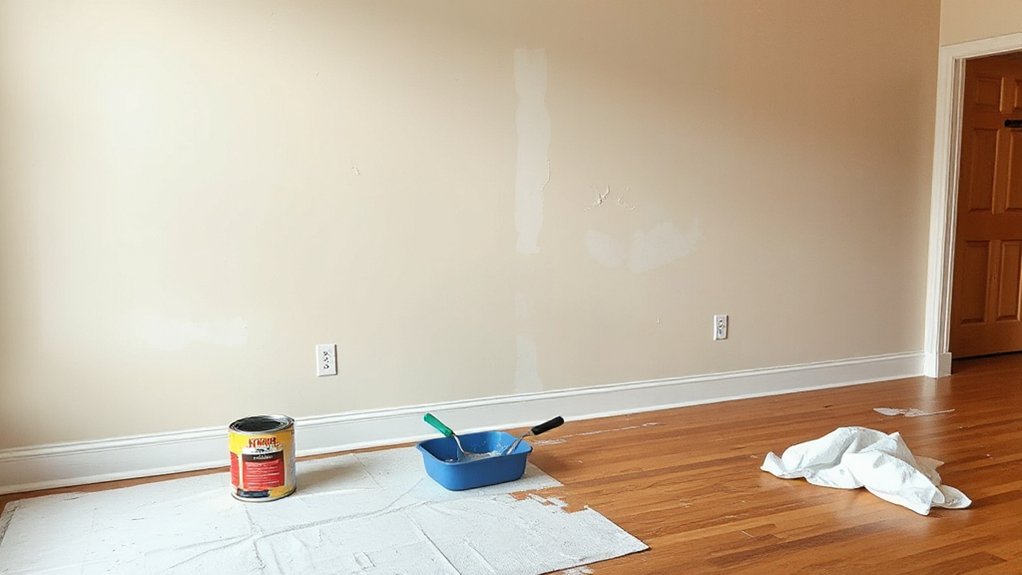
Whether you’re painting a single room or your entire home, skipping prep is the fastest way to ruin the finish and waste time and materials. If you don’t wash walls, residue prevents proper adhesion and causes peeling. Ignore sanding, and you’ll highlight every previous brush mark and patch.
Start by cleaning surfaces with a degreasing cleaner, then rinse and let them dry completely. Fill holes and cracks, sand smooth, and vacuum dust from walls, trim, and floors. Caulk gaps at trim and casings to eliminate shadow lines that distract from your color palette and intended lighting effects.
Finally, spot-prime stains and any repaired areas, then prime full walls where needed. Careful prep lets the topcoat level correctly and look uniform.
Using the Wrong Paint and Finish for the Room
When you pick paint, you can’t just choose a color; you must match the sheen to the room’s function so light reflection, surface flaws, and cleanability are all optimized.
In moisture-prone spaces like bathrooms, kitchens, and laundry rooms, you need moisture-resistant products and mildewcide additives to prevent peeling, blistering, and mold growth.
For high-traffic areas, you should specify scrubbable, high-durability finishes that withstand frequent cleaning without burnishing, staining, or premature wear.
Matching Sheen To Space
Although it’s easy to focus only on color, matching the paint sheen to the space is just as critical to how a room performs and looks over time. You can choose the perfect color coordination, but the wrong sheen will highlight every flaw or look flat and lifeless under typical lighting effects.
Use flat or matte on ceilings and imperfect walls to conceal patches and seams. Choose eggshell for most living areas; it balances soft reflection with easier cleaning.
In high-traffic halls and kids’ spaces, step up to satin for greater scuff resistance. Semi-gloss works best for trim and doors, where hardness and definition matter.
Always test sheen samples on multiple walls and evaluate them at different times of day before committing.
Moisture-Resistant Paint Choices
How easily does a freshly painted bathroom turn clammy, peel-prone, and speckled with mildew if you choose the wrong product? When you skip moisture-resistant formulas, you allow vapor to penetrate the film, break down adhesion, and feed mold growth.
You need paints engineered with tighter moisture barriers and mildewcides, specifically labeled for baths, kitchens, and laundry rooms.
Start by assessing how much steam and splashing the surface gets, then match the product: bathroom-rated acrylic latex for walls, even more moisture-resistant coatings near showers and backsplashes.
Pair the paint with proper humidity control—vent fans, dehumidifiers, and adequate air circulation—or even the best coating will fail.
Always prime with a stain-blocking, moisture-resistant primer to lock down existing stains and stabilize problem substrates.
Durability For High-Traffic Areas
High-traffic spaces like hallways, entryways, kids’ rooms, and mudrooms quickly expose the mistake of choosing a low-durability paint or the wrong sheen. If you use flat or economy-grade paint here, routine surface cleaning will burnish the finish, leaving shiny patches, stains, and visible rub marks.
Specify a high-quality acrylic latex with at least an eggshell sheen. In very busy zones, choose satin or semi-gloss for greater scrub resistance. Look for products labeled “washable” or “scrubbable” and check abrasion-resistance ratings on technical data sheets.
Plan color coordination with durability in mind: mid-tone neutrals hide scuffs better than pure whites or very dark colors. Before committing, test sheen and color on a sample area, then clean it to confirm performance.
Cheap Tools and Bad Technique That Ruin the Finish
When you use low‑quality brushes and rollers, skip proper surface prep, or roll and brush incorrectly, you build flaws into the finish that no premium paint can hide.
You’ll see lap marks, streaks, roller fuzz, poor adhesion, and premature peeling that all trace back to tools and technique, not the paint itself.
Low-Quality Brushes And Rollers
Although cheap brushes and rollers seem like an easy way to save money, they almost always telegraph their cost straight onto your walls: visible lap marks, lint fibers stuck in the paint, uneven coverage, and rough edges along trim.
Brush quality directly affects how smoothly paint lays off. Low-grade bristles splay, shed, and won’t hold enough paint, forcing you to overwork the surface and creating streaks.
Roller selection matters just as much. Inexpensive rollers often have inconsistent nap density, causing patchy sheen and “orange peel” texture. Fibers break loose and dry into the finish.
Instead, use a well-made nylon/polyester brush matched to your paint type and a shed-resistant roller with the correct nap length for your wall texture and paint sheen.
Skipping Surface Preparation Steps
Because paint only looks as good as the surface beneath it, skipping prep steps like cleaning, deglossing, sanding, patching, and priming sets you up for peeling, flashing, and visible defects no topcoat can hide. When you rush, you waste paint, time, and end up repainting sooner than you should.
- Clean thoroughly – Remove dust, grease, and smoke residue with a degreasing cleaner so coatings can bond instead of sliding over contaminants.
- Perform surface sanding – Feather old edges, dull glossy areas, and knock down nibs to create a uniform mechanical profile.
- Repair defects – Fill holes, caulk gaps, and spot-sand repairs so textures and sheens match.
- Apply proper primer – Use the right primer for stains, sheen transitions, and patched areas to lock down porosity and ensure even color.
Incorrect Rolling And Brushing
Even with premium paint and perfect prep, poor brushing and rolling can still leave you with lap marks, streaks, tram-line roller tracks, and visible texture that telegraphs through every coat.
Cheap rollers shed lint, create uneven stipple, and drag as they dry out. Bargain brushes splay, leaving visible bristle marks, especially on trim and doors.
Use a quality 3/8″–1/2″ roller sleeve matched to your wall texture and a flagged-tip angled sash brush for cutting in.
Maintain a wet edge, work in manageable sections, and always lay off in one direction under consistent lighting.
Plan color coordination and furniture placement before painting so you can roll uninterrupted, avoid leaning over pieces, and maintain uniform pressure and overlap across the entire surface.
Common Cutting-In and Rolling Mistakes on Walls and Ceilings
When you’re cutting in and rolling walls or ceilings, small errors in technique quickly translate into visible defects like lap marks, picture framing, uneven sheen, and wavy cut lines. These flaws become even more obvious with careful color coordination and strong light reflection across the surface.
- Uneven cut lines – You let the brush wander. Maintain a steady hand, brace your wrist, and keep a consistent angle and pressure.
- Picture framing – You use different pressure or paint amounts between brush and roller. Back-roll over the cut-in while it’s still wet.
- Lap marks – You stop mid‑wall. Work in manageable sections, always keeping a wet edge.
- Mismatched texture – You roll too lightly or repeatedly. Load the roller properly and finish with light, uniform passes.
Rushing Drying Times and Ignoring Recoat Directions
Perfect cut lines and smooth rolling won’t save a paint job if you rush the drying schedule or ignore the recoat window printed on the can. Paint forms a film by solvent or water evaporation and then by curing; both stages demand correct drying times.
If you recoat too early, you trap solvents, creating tacky walls, roller marks, and premature peeling.
Always read the manufacturer’s recoat instructions for that exact product and sheen. Note the minimum and maximum recoat window, then adjust for temperature, humidity, and poor ventilation. Cooler, damp rooms can easily double stated drying times.
Use a fan to move air, not blast the surface. When in doubt, wait longer—fully dry paint sands, touches up, and wears far better.
Fixing Interior Painting Mistakes After the Paint Dries
Although dried paint can make flaws feel permanent, most interior painting mistakes are fixable if you diagnose them correctly and use the right repair sequence. Start by evaluating lap marks, sags, holidays, or color mismatch in normal daylight and with your furniture placement roughly in mind so you understand what’s actually visible.
- Light lap marks: Scuff-sand edges with 220-grit, tack-cloth the dust, then apply a thin, well-feathered recoat.
- Runs and sags: Shave cured drips with a sharp scraper, sand level, spot-prime, and repaint.
- Texture defects: Fill dents or roller fuzz with lightweight spackle, sand smooth, prime, and touch up.
- Color coordination problems: If a hue clashes, repaint the smallest surface first—often trim or an accent wall—before committing to a full-room color reset.
Frequently Asked Questions
How Do I Estimate How Much Paint to Buy for a Room?
You first measure each wall’s area, subtract doors/windows, then divide by the paint’s listed coverage per gallon. Multiply by two coats, then add 10% extra for color selection changes and higher‑build paint finish requirements.
Is Primer Always Necessary if the Walls Are Already Painted?
Primer isn’t always necessary, but it often is. About 80% of repaint failures come from poor wall preparation. You need primer necessity when changing dark colors, covering stains, painting glossy surfaces, or switching to different paint types.
What Safety Gear Should I Wear While Painting Indoors?
You should wear protective gear: safety glasses, nitrile gloves, a NIOSH‑approved respirator for fumes, and old long sleeves. Add safety precautions: make certain strong ventilation, cover hair, use non-slip shoes, and keep a nearby sink for cleanup.
How Can I Reduce Paint Smell and Fumes in Small Spaces?
You reduce paint smell and fumes by maximizing ventilation techniques: open windows, create cross-breezes with fans, and run exhaust. Use low-VOC paints, seal unused cans, deploy odor absorbers (activated charcoal, baking soda), and wear a fitted respirator.
How Do I Safely Dispose of Leftover Paint and Used Rollers?
Kill two birds with one stone: you take leftovers to paint recycling centers or hazardous-waste facilities for safe disposal, let empty cans dry fully, then bag dried rollers and trays, following your municipality’s specific waste-handling regulations.
Conclusion
In the kingdom of your home, every wall’s a knight’s shield. If you skip cleaning, sanding, or priming, that shield cracks under the first blow of daily wear. When you choose proper paint, quality tools, and patient technique, you’re forging armor—layer by layer, cure by cure. Respect drying times, correct flaws methodically, and you’ll command a durable, uniform finish that stands firm against scuffs, moisture, and time’s slow siege.